 EN

How a Wooden Shoe Stretcher Works: Mechanics, Materials, and Safe Limits
Expansion Physics: How Wooden Stretchers Apply Controlled Pressure
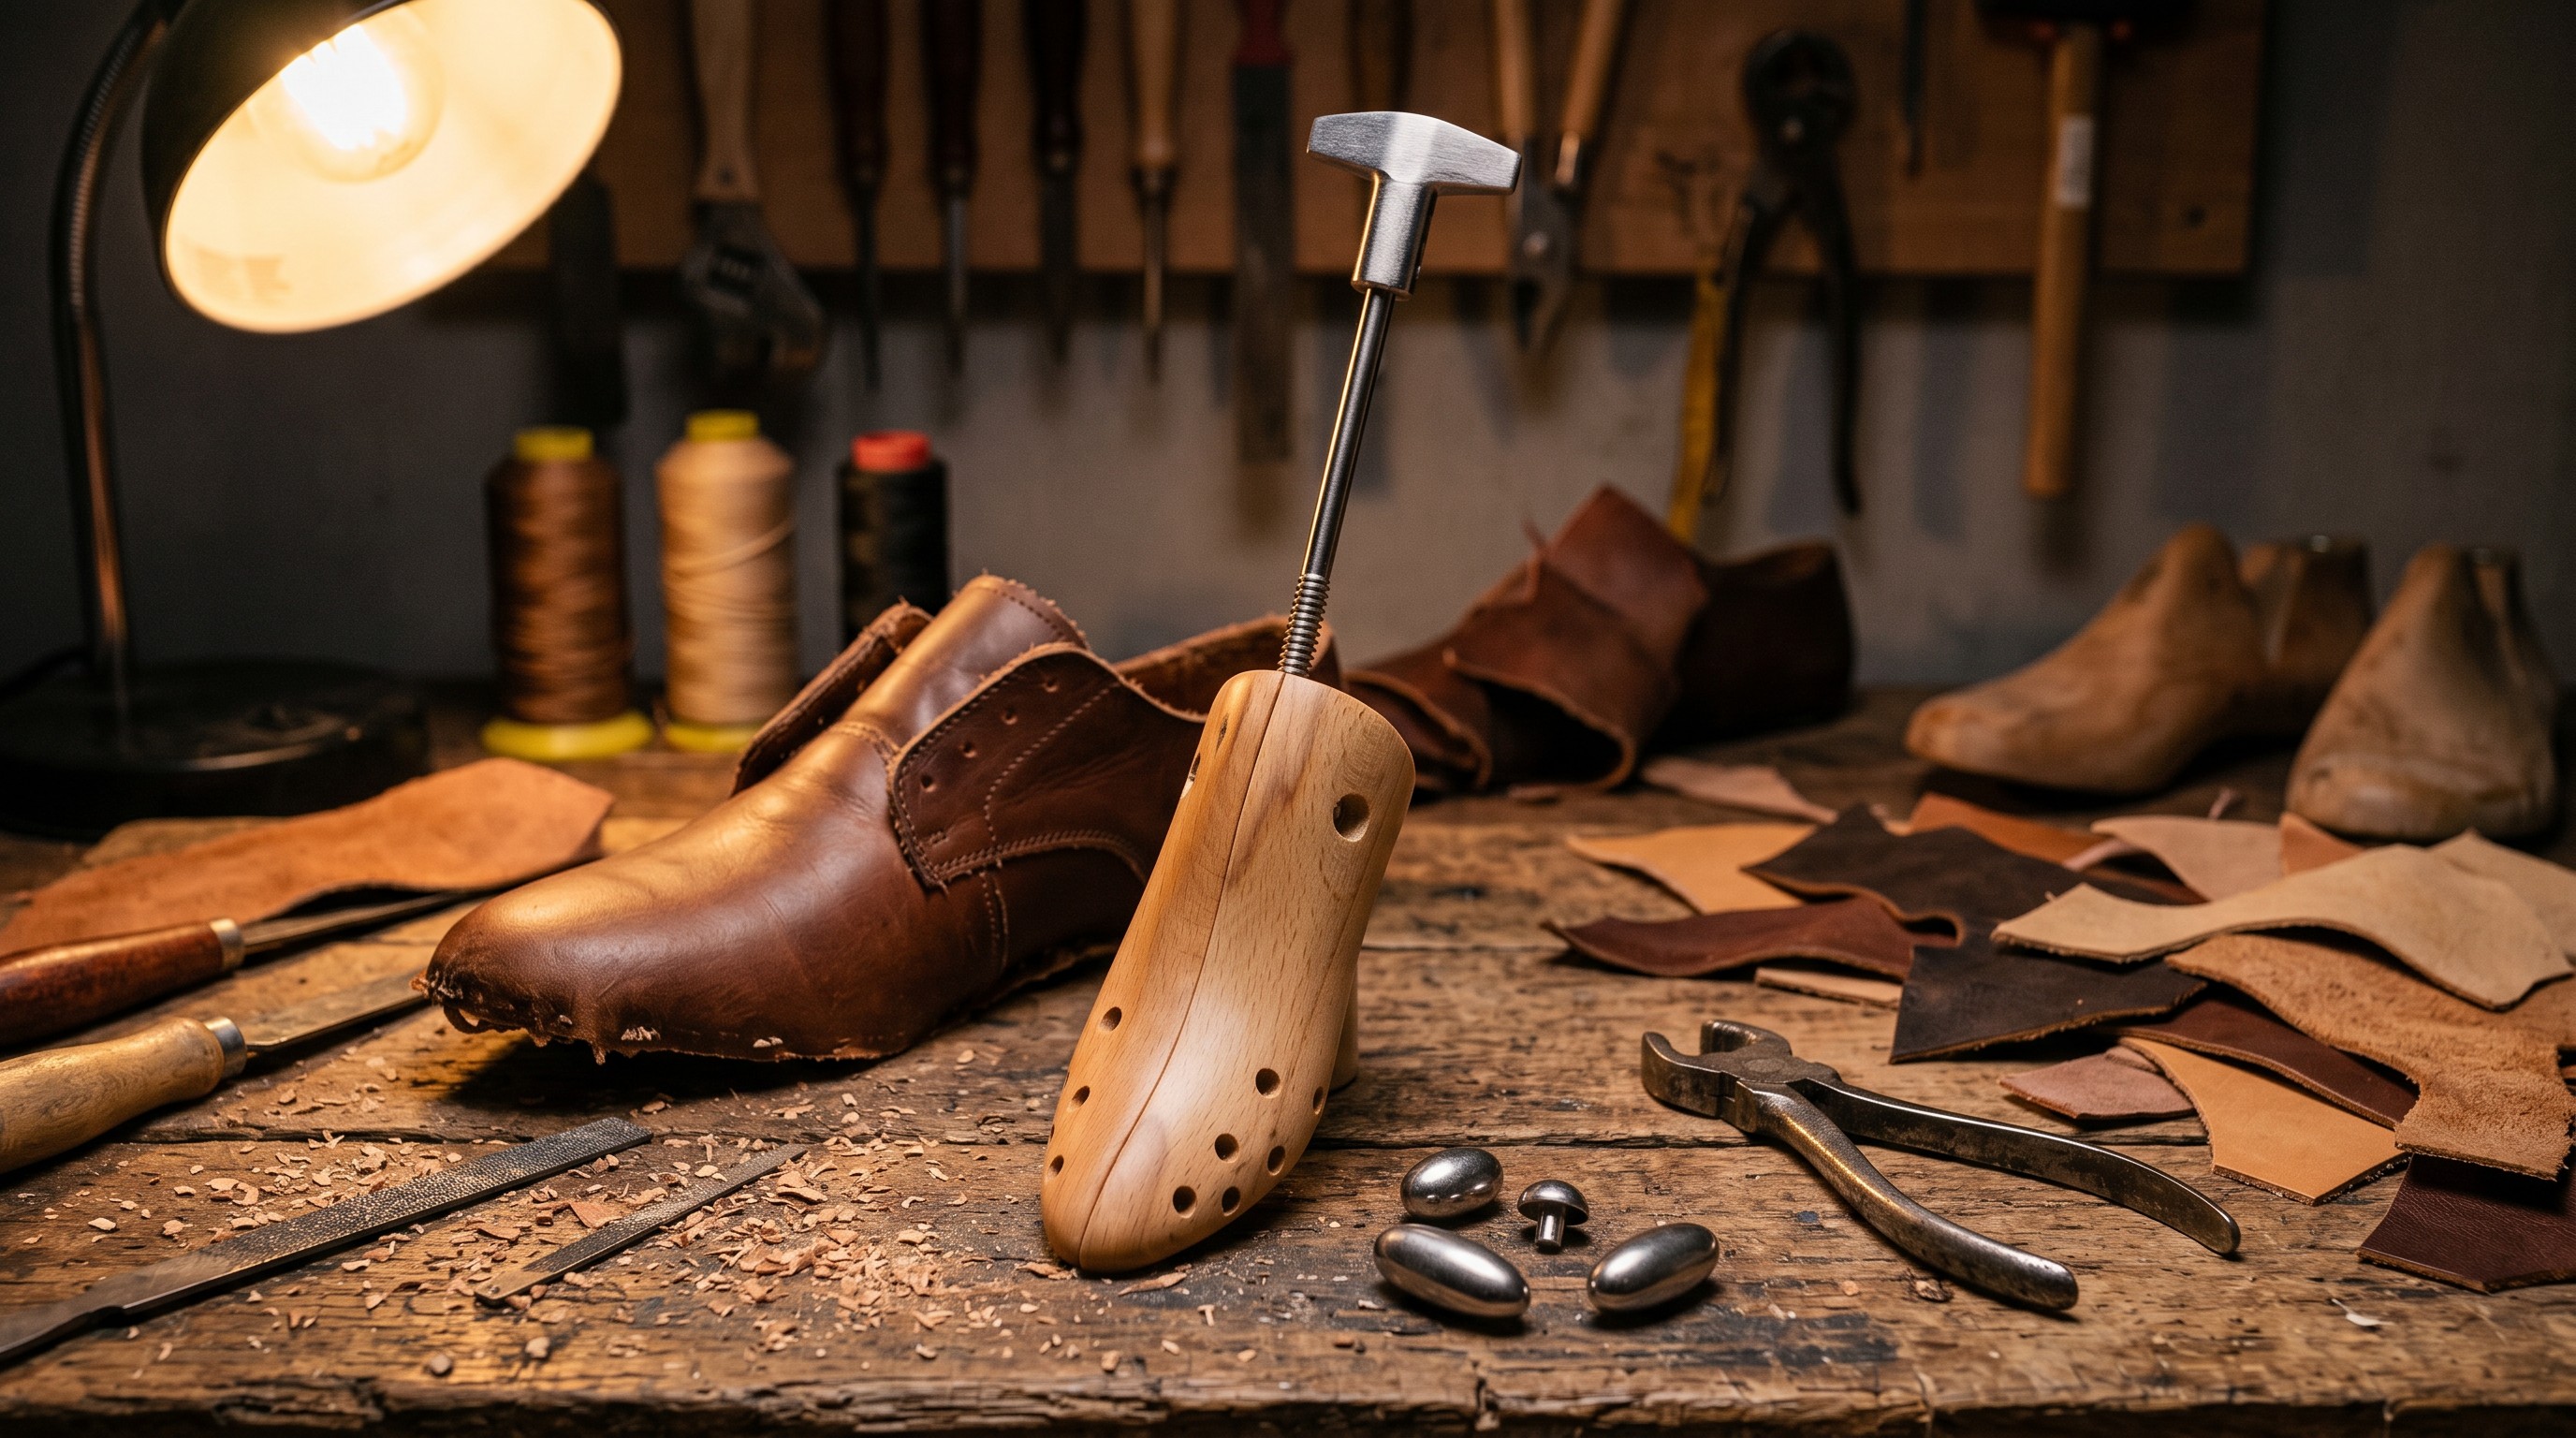
A wooden shoe stretcher converts rotational force into gradual, outward expansion. Turning the metal handle advances an internal screw that pushes the forefoot and heel blocks apart—enabling independent adjustment of width and length. Dedicated bunion plugs allow targeted pressure at common friction points. The hardwood last (typically beech or maple) distributes force evenly across the shoe’s interior, closely mimicking natural foot contours. This mechanical, low-velocity loading lets leather collagen fibers relax—not rupture—under tension. Softwoods like pine are unsuitable: they can splinter under load, introducing micro-fractures that compromise structural integrity over time. For optimal results, advance the handle by just a quarter-turn, then wait 8–12 hours before the next adjustment. This incremental rhythm gives materials time to adapt, minimizing seam stress and preserving heel shape.
Material Compatibility: Why Leather, Suede, and Synthetics Require Different Approaches
Leather stretches most reliably because its collagen matrix responds predictably to slow, moist tension. Applying a stretching spray beforehand enhances fiber pliability and reduces cracking risk. A well-executed wooden stretcher treatment can safely add up to half a size—but exceeding this risks thinning the hide or loosening stitching. Suede requires extra care: its delicate nap flattens easily under pressure, so use minimal turns and always place a soft cloth between the stretcher and upper. Synthetics—including polyurethane, PVC, and many knit blends—have limited elasticity and poor memory retention. They often rebound after stretching or develop permanent creases, delamination, or bonding failure. Always test on a hidden area first. In mixed-material shoes, apply pressure only to leather panels; avoid loading synthetic overlays, seams, or welded joints. Understanding your shoe’s upper composition is essential for setting realistic, safe stretching goals.
Step-by-Step Wooden Shoe Stretcher Usage: Safe Insertion, Gradual Expansion, and Fit Monitoring
Correct Placement and Alignment to Prevent Seam Stress and Heel Distortion
Begin with the stretcher fully retracted: turn the rear handle counterclockwise to draw the toe block back, and rotate the length drum clockwise to bring the heel block forward. Insert the toe block first, guiding it gently to the front of the shoe until you feel it through the upper. Then align the heel block squarely into the heel counter—never twist or force it, as misalignment strains side seams and distorts the heel cup. If targeting a specific area (e.g., a bunion), attach the corresponding plug before insertion. Proper alignment ensures expansion force remains perpendicular to the shoe walls—preventing bulges, puckering, or lining tears. After insertion, lightly wiggle the stretcher to confirm full contact with the insole and no air gaps that could concentrate pressure on a single seam.
Controlled Expansion: Timing, Incremental Turns, and the 4–5% Stretch Maximum Rule
Turn the widening handle clockwise in precise, modest increments—no more than one full turn per session. Adhere strictly to the 4–5% stretch maximum rule: expanding beyond ~4–5% of the shoe’s original dimension risks fiber rupture, seam failure, or sole detachment. For example, a 4-inch-wide ball girth allows only ~0.2 inches of safe width gain. After each turn, leave the stretcher in place for 8–12 hours to let the material relax gradually. If fit remains tight, repeat with another single turn the following day—not multiple turns in one session. This measured pace, anchored by the 4–5% ceiling, protects toe box structure, sole adhesion, and overall silhouette. For synthetics and heavily lined uppers, aim for the lower end of that range.
Real-Time Fit Assessment: Identifying Early Warning Signs of Over-Stretching
Remove the stretcher and try on the shoe to assess progress. A successful stretch yields immediate comfort without sagging, gapping, or bagginess. Watch for red flags: puckered seams, exposed stitching, rippled or wavy leather, or visible lining separation—all signs the material has exceeded its yield point. A thin or hollow-feeling toe cap suggests collapsed structure; release the stretcher immediately and apply conditioner to restore resilience. Faint cracking sounds during insertion indicate brittle, dehydrated leather—not a candidate for stretching. Heel gape while walking signals over-relaxed counter tension; stop all stretching at this point. Regular, attentive evaluation ensures lasting fit improvement without sacrificing shoe longevity.
Protecting Your Shoes: Pre-Stretch Prep and Post-Stretch Care for Longevity
Stretching Spray and Leather Conditioner: Preserving Fiber Strength and Flexibility
Pre-stretch preparation is non-negotiable for leather and suede. Use a dedicated stretching spray—formulated to penetrate and temporarily relax collagen fibers—applied as a light, even mist. Allow 30 seconds for absorption before inserting the stretcher. For suede, choose a pH-balanced, nap-safe formula. After stretching, replenish lost lipids and moisture with a high-quality leather conditioner. Apply sparingly—a thin, buffed layer suffices—to restore suppleness without oversaturating or attracting dust. These steps preserve tensile strength and prevent long-term embrittlement, ensuring the stretcher enhances rather than undermines durability.
Rest Periods and Shape Retention: Why 24–48 Hours Off-Form Is Essential
Once the ideal fit is achieved, remove the stretcher and let the shoes rest for 24–48 hours—unworn and unsupported. This off-form period allows stretched fibers to stabilize and lock in their new configuration. Insert cedar shoe trees during rest and between wears: they absorb residual moisture, maintain volume, and support the newly expanded shape. Avoid wearing the shoes immediately after stretching; body heat and motion accelerate reversion. Consistent use of shoe trees post-stretch significantly extends the life of the adjustment—and the shoe itself.
FAQ
What is the maximum size a wooden shoe stretcher can safely expand a shoe?
A wooden shoe stretcher can safely expand a shoe up to 4–5% of its original dimensions. For example, a 4-inch-wide shoe can be safely stretched by ~0.2 inches.
Can I use a wooden shoe stretcher on synthetic materials?
Yes, but caution is required. Synthetics often have limited elasticity and can develop permanent creases or delamination. Always test on a hidden area first and avoid loading seams or overlays.
How long should I leave the stretcher in the shoe?
Leave the stretcher in place for 8–12 hours per adjustment. This allows the material to relax gradually and adapt to the stretching force.
Do I need to use a stretching spray?
Yes, especially for leather and suede. Stretching sprays temporarily relax collagen fibers, making them more pliable and reducing the risk of damage.
How can I prevent overstretching?
Adhere to the 4–5% stretch maximum rule and avoid making more than one full turn of the handle per session. Monitor for fit issues like puckering, cracking, or structure loss.
Should I wear the shoes immediately after stretching?
No, allow them to rest for 24–48 hours off-form to stabilize the fibers. Use cedar shoe trees during this period to maintain shape and lock in adjustments.
Table of Contents
- How a Wooden Shoe Stretcher Works: Mechanics, Materials, and Safe Limits
- Step-by-Step Wooden Shoe Stretcher Usage: Safe Insertion, Gradual Expansion, and Fit Monitoring
- Protecting Your Shoes: Pre-Stretch Prep and Post-Stretch Care for Longevity
-
FAQ
- What is the maximum size a wooden shoe stretcher can safely expand a shoe?
- Can I use a wooden shoe stretcher on synthetic materials?
- How long should I leave the stretcher in the shoe?
- Do I need to use a stretching spray?
- How can I prevent overstretching?
- Should I wear the shoes immediately after stretching?